With this hybrid
process a pigment print is first printed on the paper, then another
image is created on top via a photosensitive cyanotype emulsion.
The first step
is to identify a possible combination of images and work on these in
Photoshop to prepare the image that will be printed as a pigment print
and the areas to be printed as a cyanotype. With many of these processes
I would suggest you sketch with a number of images - experiment
in photoshop with quite small files to get an idea how the images might
combine and then work work up the images which show the greatest potential
as larger files.
As the cyanotype
produces a cyan blue coloured image it can work well with subjects like
a blue sky or water. The blue channel of an image can simply be dropped
at the printing stage and replaced with the cyanotype
emulsion, or a combination of two images can be used - perhaps one
with a figure which is pigment printed - the other with sky or water
as a background which is printed with the photosensitive emulsion.
Combining two images- single figure ground method
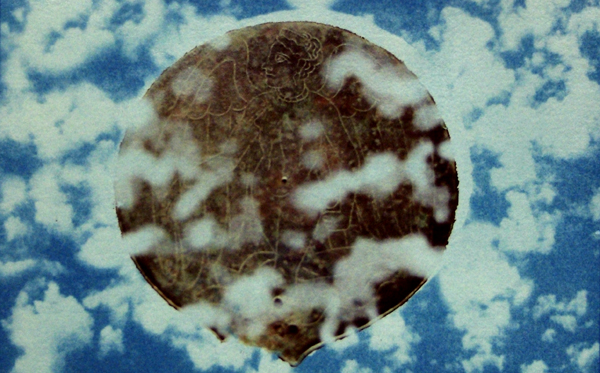
The
cyanotype
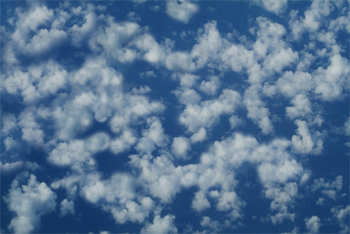
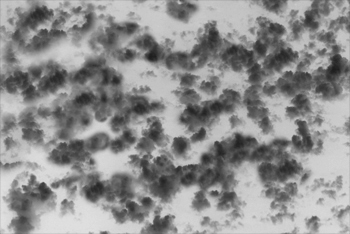
In this example,
the clouds and sky are suggestive of the cyanotype image and for this reason I decided to work with this as a background.
-

|
|
The
Pigment print

This
image of the back of a Roman mirror of 200BC has little blue and
offers a good subject to juxtapose against the blue background.

|
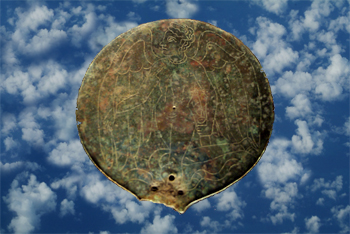
The image
of the mirror is pasted as a layer on top of the clouds in photoshop
|
|
Mouse over
Using a mask
in photoshop areas of the mirror are removed to let the clouds
come through and create the illusion of a 3rd dimension.
|
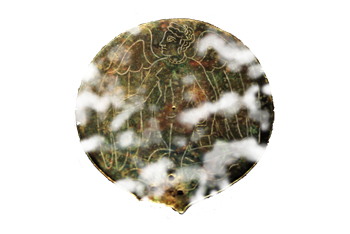
The
aspect of the image to be printed as a cyanotype is converted
to a negative image and produced as a transparent image - as the
cyanotype is a contact printing process, it is important that
this be exactly the same size as the pigment print.
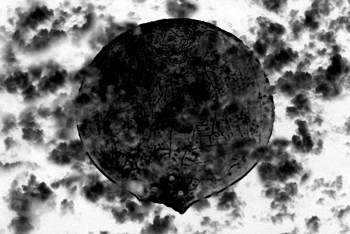
Through
photoshop a negative image is produced that combines both the
clouds and the mirror. The theory is that the dark or dense areas
will block the UV reaching the photo emulsion and wash off in
the processing.
|
|
The
pigment image is printed onto fine art paper - make sure the paper
you are working with is of a reasonable weight (thickness) and
quality. Pay careful attention to the physical size and
resolution of the image when you print it as you may need to make
further prints later.
It is also a good idea to insert some x marks in the corner with
photoshop to help with registration of the negative.
|
However,
while the cyanotype emulsion is coated onto the area where the
mirror is, it does not appear to adhere where the pigment is laid
down and washes off readily during processing. I have made this
print with both negatives and both work equally as well.
|
|
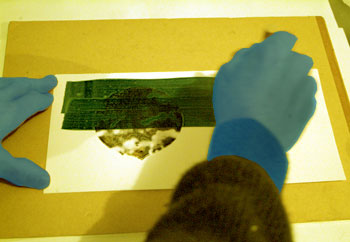
A
thin layer of the cyanotype emulsion is brushed onto the paper
in subdued light or a safe light. You might like to experiment with different brushes and applications
If you have doubts about if the lighting is fogging your paper,
take a sheet which is coated with emulsion and has dried -
lay
an opaque object on it like a pair of scissors for some time -
say 10 min's and if there is an image left on the paper after
this time you will get some idea of how long you can leave the
paper out in the light for.
However having said this the process is very tolerant and I have
made great cyanotypes under a tent in full sunlight at a fun
workshop.
|
|
|
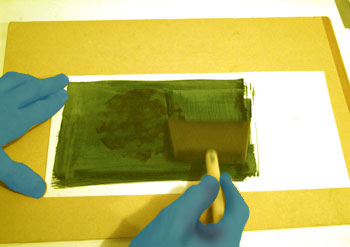
To gain an
even coating, brush the emulsion length ways and then at right
angles |
| |
|
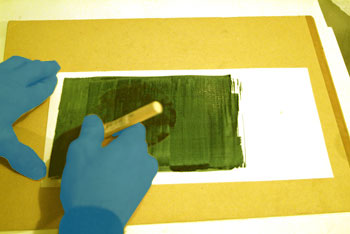 Repeat
this until you are satisfied with the coating. Repeat
this until you are satisfied with the coating.
|
|
|
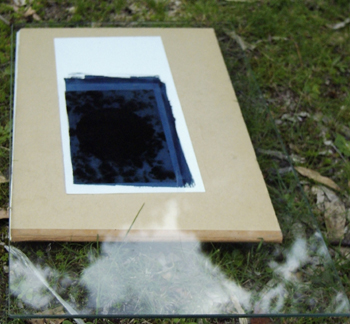
Drying
the emulsion
After the
paper is coated lay it flat to dry in a dark place.
|
Exposing
the print
|
At this
point the pigment print and the transparent negative image are
combined.
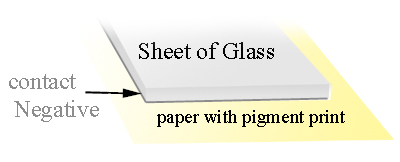
Place the
paper on a support base and then negative on top of the pigment
print with the registration as accurate as possible.
Then a
thick sheet of glass on top of this to hold the two in close
contact - make sure correct side of the negative is face down
on the emulsion.
While
there are many ways you can expose the emulsion to UV the sun
is a source many people use - hence the name Sun printing used
for many of these processes. While the sun works well it is
also variable and you may need to do some experiments. This
print had 45 min's on an over cast day- where as it took 5 mins
in a UV exposure box for the other prints.
So - if
you are doing lots of work you might like to build an exposure
box with a UV lamp.
|
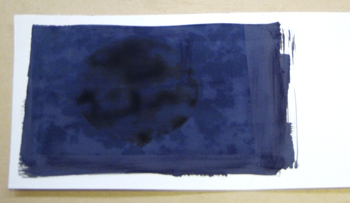
The exposed
print
|
Different
emulsions produce slightly different effects but in this image
you can see the change after the exposure. |
| |
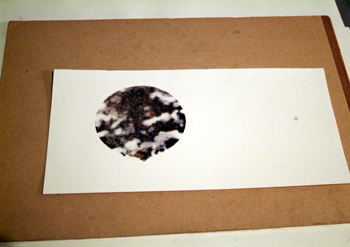
After the
exposure the print is washed in water - if you have trouble
washing out the yellow orange of the Potassium
Ferricyanide, increase the temperature of the water.
|
Be aware that
some papers react better than others for this process – for instance
while the pigment print works well on Hahnamule paper it is difficult
to clear the yellow dichromate staining from the cyanotype. Other paper
might clear well but give a less defined pigment print -
