 |
Sequence viewing > Digital & Post Production - Resource - ©
Lloyd Godman
Perspective adjustment in photoshop
With Photoshop we have a the ability to correct perspective or create more perspective distortion. However there are limits to this and it is wise to consider that we are distorting pixels, and also the image will be physically smaller than the original.
|
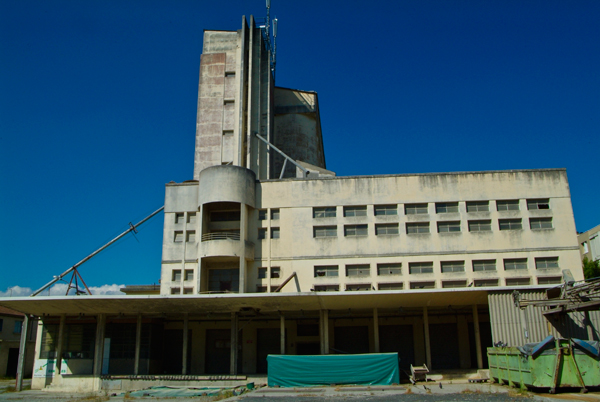
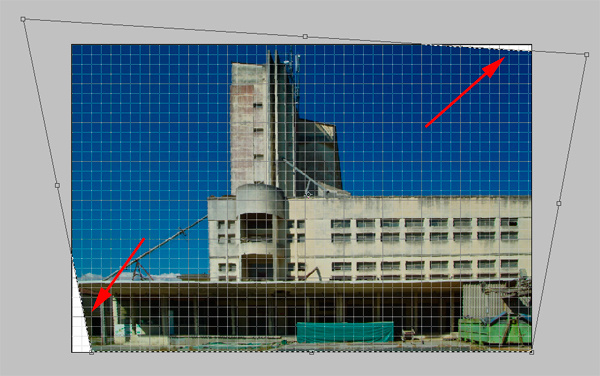
Because of the camera viewpoint and also the wide angle lens used to take the photograph, with this image of the building we see the vertical sides of the building leaning in, and also the horizontal lines of the top of the building not level with the edge of the frame.
Its possible to correct both of these. |
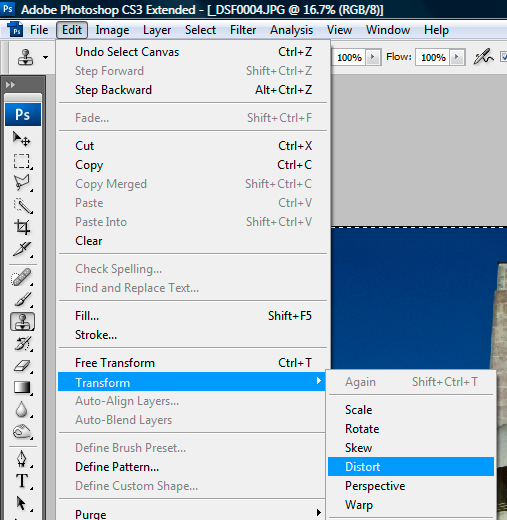 |
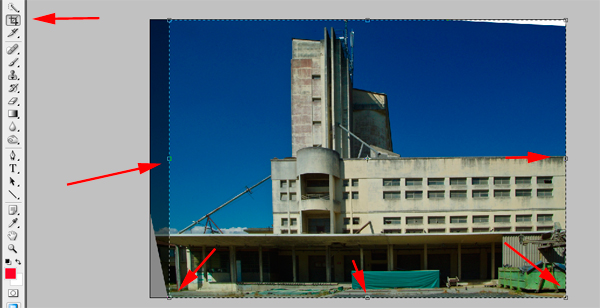
First we select the entire image - we can do this as control A - an it should have a blinking line around the selected area. Then we select edit > transform > there are several options here and you might like to experiment with these - but for now lets choose distort. |
|
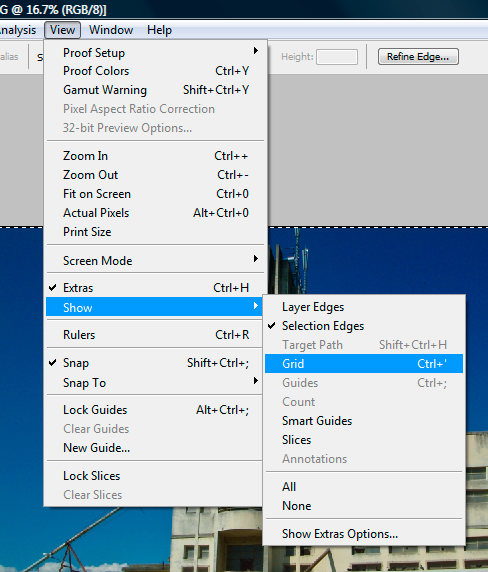
If it is something with geometric vertical and horizontal lines like a building it is wise to turn on the grid lines - these remain visible while we work by to not get saved with the image - we also turn them on and off as we need them. |
|
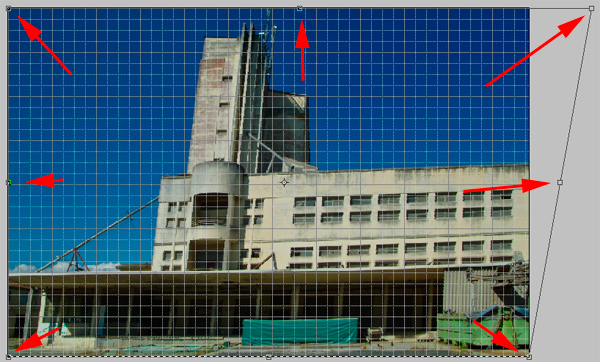
Once we turn on distort we get 8 anchor points that we can move to alter the perspective of the image.
We grab one of these with the mouse pointer and shift it to the location we desire. |
|
If we stretch the image outwards as in the lower right and top right, we retain to image details.
If however we pull the image in, as in the lower left corner and top right, because there is no image information out side we create a vacant space- in this case white. |
 |
We can line the building up with the grid and when its where we desire we click on the crop tool this allows us to apply the perspective adjustments. |
|
After this I use the crop tool to crop out the white area on the left
|
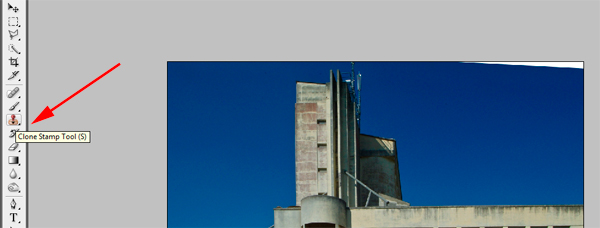 |
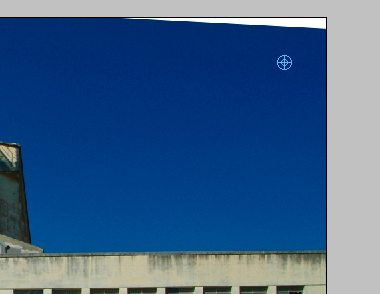
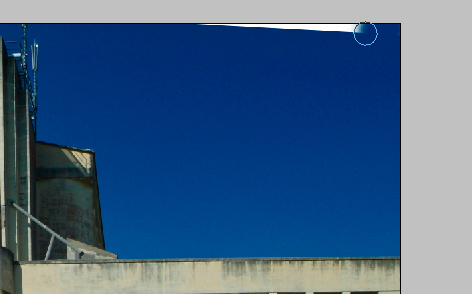
However for the area on the right I am going to use the clone tool to copy areas of the adjacent sky and fill the area. |
|
For the area I want to clone or copy I move the curser to this area and then click Alt - we can see the selection circle - we can change the size, hardness and opacity of this to suit our needs
|
|
Then I begin to move the mouse across to clone]ne in the selected area |
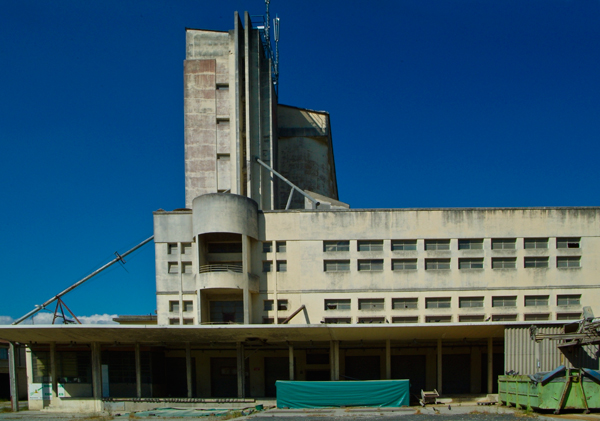 |
Once I have done this I have the finished image.
|
Want to learn more? - do a workshop or one on one with Lloyd Godman
|