|
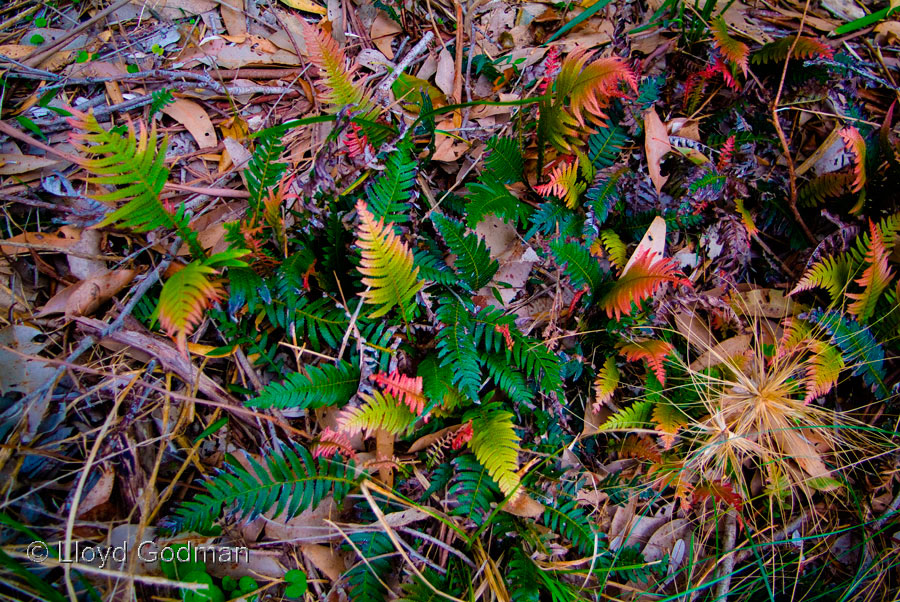
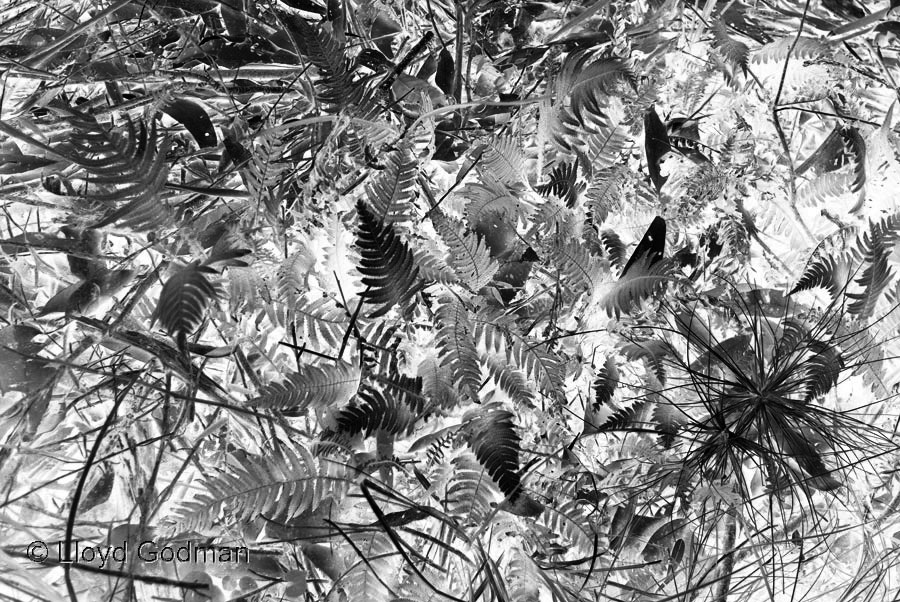
Lets take this digital colour image, convert it to B&W and then invert it to create a digital negative of a cyanotype or a Vandyke brown print. |
|
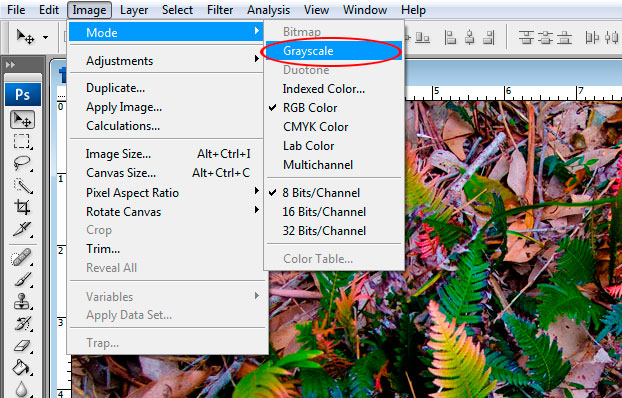
The easiest means of converting this to B&W in Photoshop is simply to select - Image > Mode > Grey scale - while this is a quick an easy method, it will flatten each of the colour layers so as this information is lost - it also allows little or no control over the tonal relationships within the image and how these can be adjusted against one another.
Here is a more detailed account on how to retain the colour information and have greater control over this.
|
|
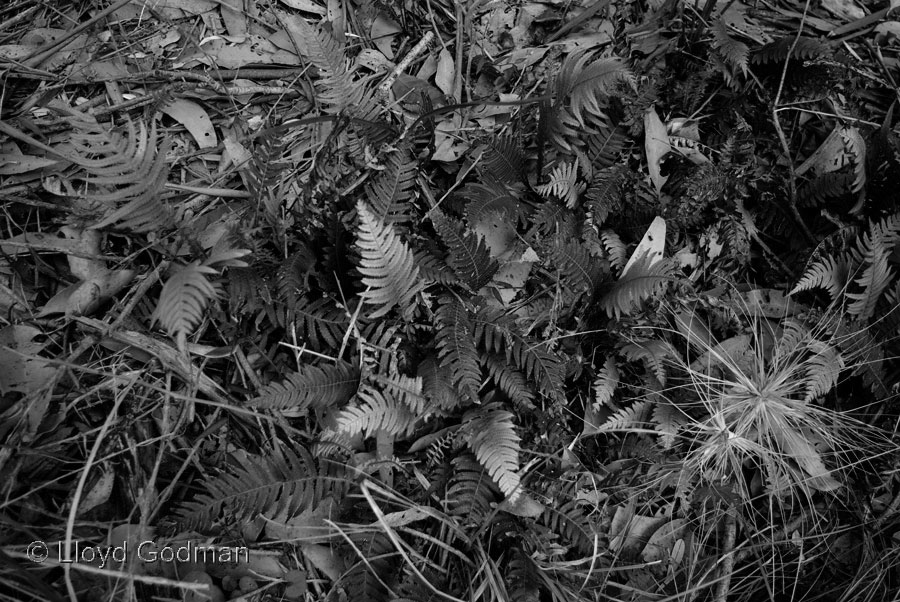
When we click on this the image is simply flattened to a positive black and white. |
|
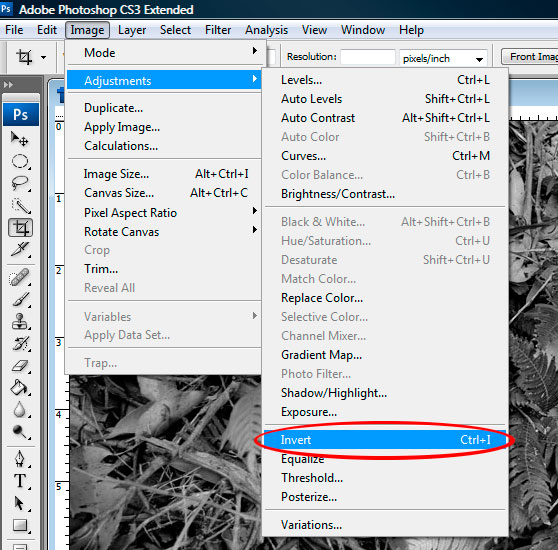
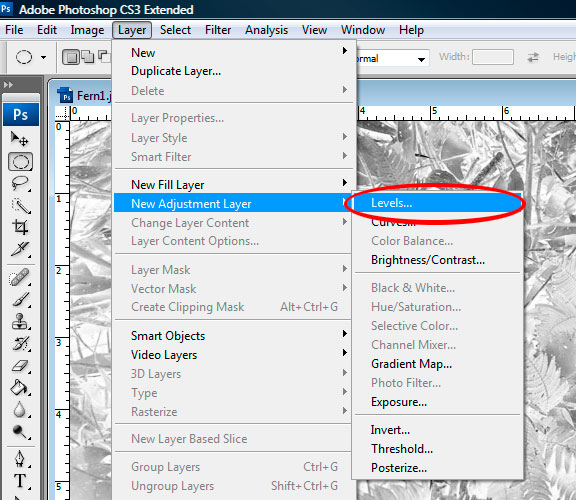
Then when we select - Image> Adjustments>
Invert - the tonal information in the image is converted to B & W. |

|
Here we see the resulting image. However we might notice that the details in the shadow areas of the image ( NOW TRHE LIGHTER AREAS) have lost detail. |
|
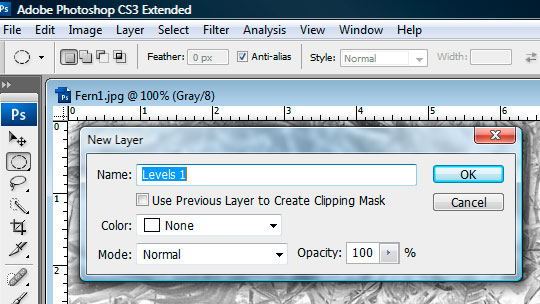
So we might need to adjust the density of this through using levels - if you complete this in an adjustment layer we do not lose information and can always make further adjustments at any other time. |
|
|
|
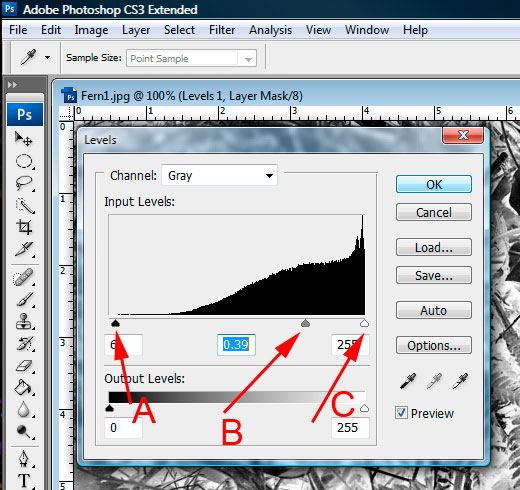
Here we see the levels adjustment histogram. A is the dense or dark areas of the image, C the lightest areas of the image. Because the tonal latitude or range of both the Cyanotype and the Van Dyke Brown processes are short, generally we don't want to shorten the tonal range by compressing the tone, so we would leave these where they are.
However by adjusting B - we can move the mid point on the tonal scale up and down to we gain the desired effect. |
|
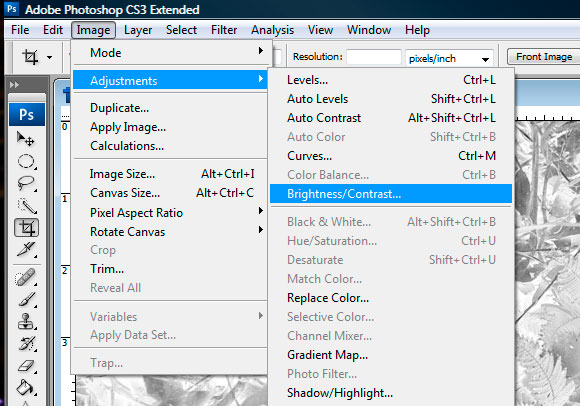
While many people use the contrast and brightness control to do this, you will find using levels or curves through an adjustment layer allows greater control.
|
 |
Here is the adjusted negative image.
Mouse over to view the difference before the adjustment.
From this image we can now use an injet printer or other means to print the image onto a transparent materail which becomes the negative. |
| |
However - the ideal situation is to wok on the negative as a working neg in the way a photograper might dvelop a series of working prints in a darkroom top produce the final image.
If we create a grey scale along side the orignal image when can carry out a seris of tests until we match the tonal scal of the digital negative with the tonal scale of the process being used to create the print. |