Placing text on an Image in Photoshop
With Photoshop its is possible to place text on top of and image.
|
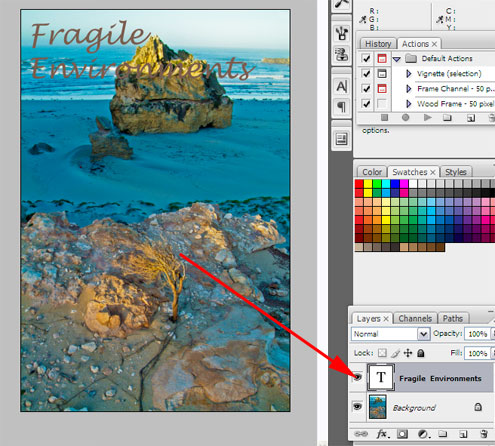
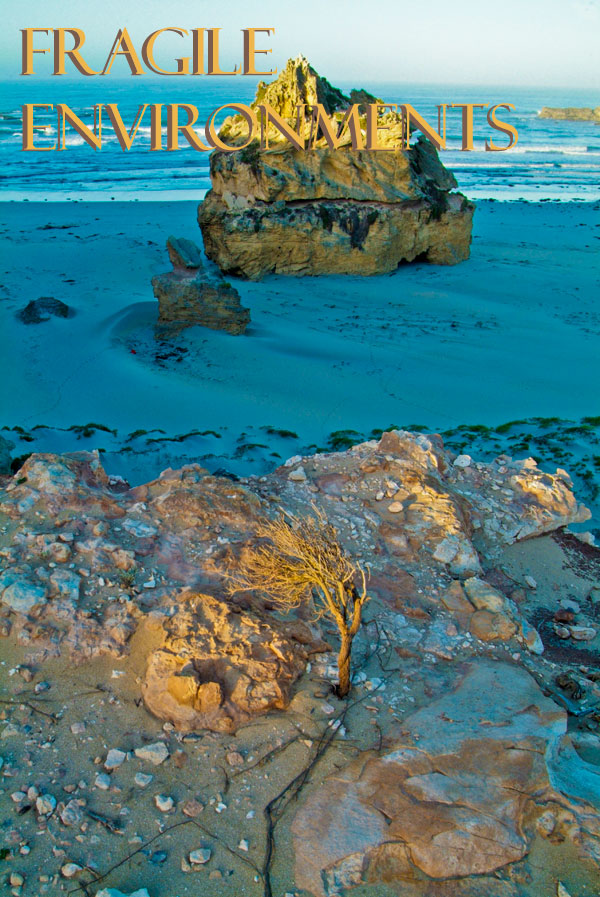
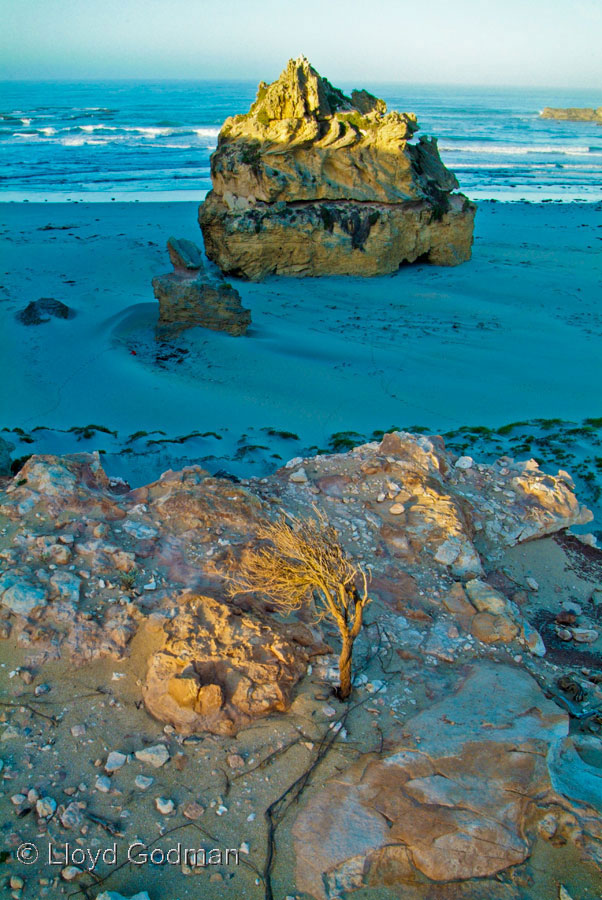
Lets look at how we place text on this image |
|
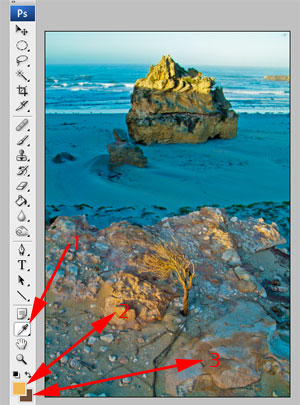
On the main tool bar is an eye dropper icon 1 that lets you select a colour from the image. Below this are two small rectangles of colour - one is the foreground colour ( on the left) and the other is the background colour below it on the right).
Here we have selected two colours from the image, one lighter no 2 - and the other darker no 3. We can select any colour that we like. |
 |
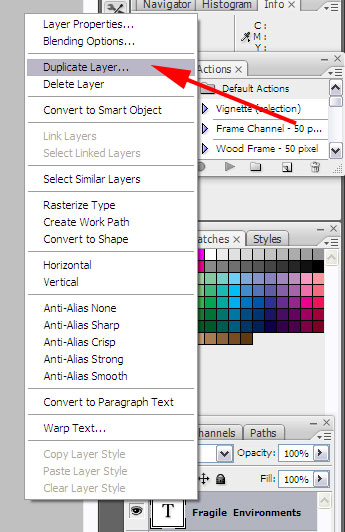
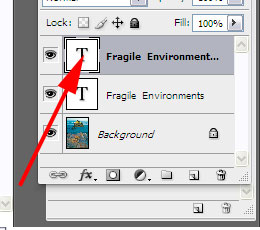
From the main tool bar we select T for text - the square around this indicates it is activated. |
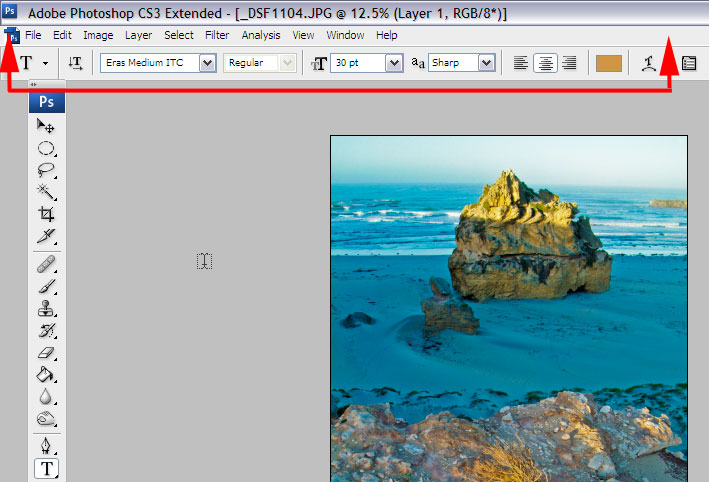
Selecting this activates the text tool bar along the top which allows us to select vertical horizontal axis, the text font, style regular- italic etc. font size, etc. Play with these until you get a sense of all the possibilities.
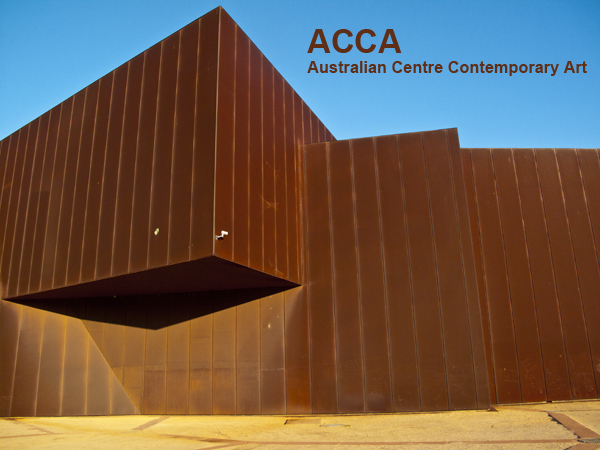 |
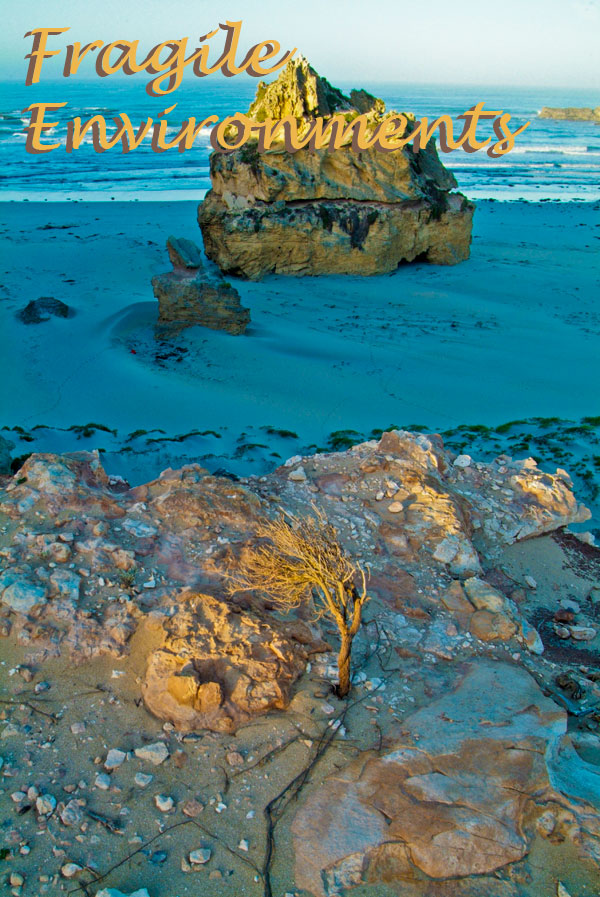
Here we see text placed on the sky. |
|
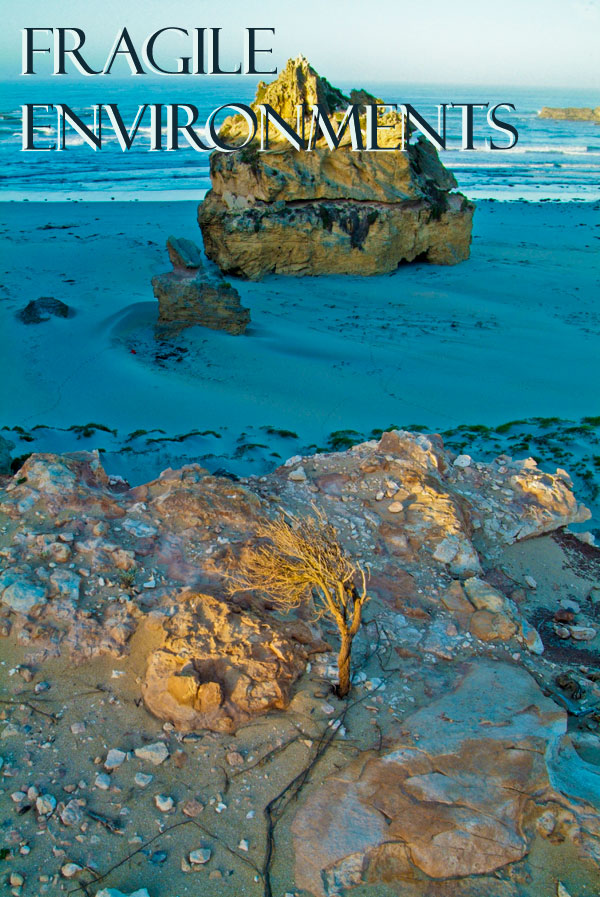
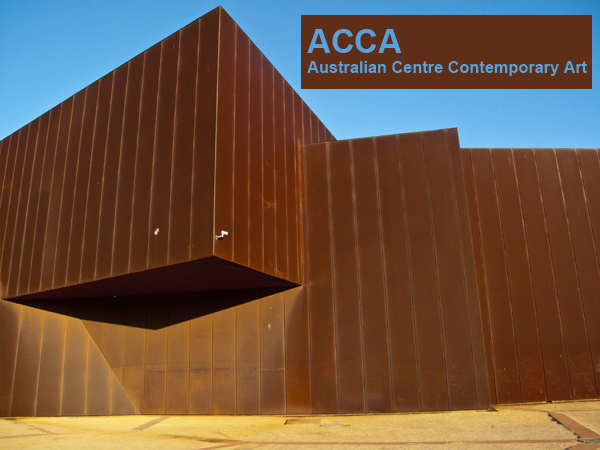
In some situations a text box is used to create an area of strong contrast and the text is placed into this |
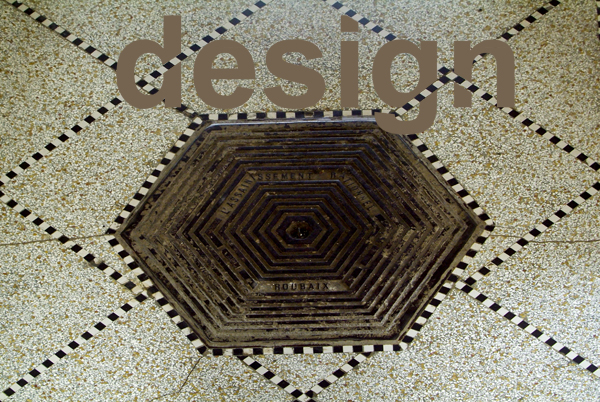 |
To suggest that the text is part of a 3rd dimension, text can also be made to wrap or weave between visual elements in a photograph. |
Want to learn more? - do a workshop or one on one with Lloyd Godman |