Portrait
Lighting exercise
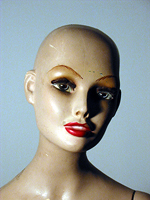
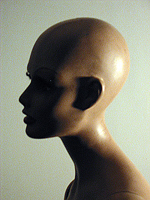
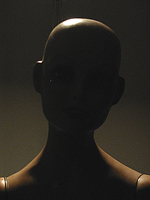
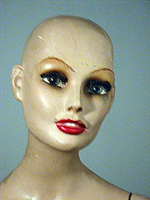
Image
G
In
situation G, the light is moved closer to the camera
again. The thin line of light on the side of the
face in situation E has broadened and now lights
more of the face including the eye and nose. Note
there is now illumination striking the other side
of the face which has created a distinct triangular
shadow from the nose, which nearly meets the shadow
down the far side of the face. |
|
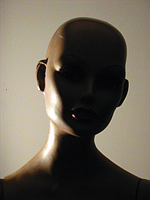
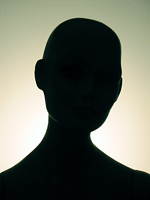
Compare
other portrait lighting situations
There
are standard lighting techniques recommended
for portraits and while some photographers
follow these to the letter ( I worked for
a photographer who had not changed his lighting
set up for 20 years) it is more useful to
understand how to read light and shadows
on the subject and apply this to each subject.
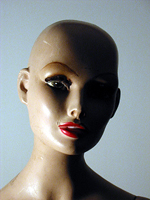
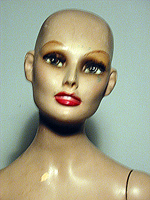
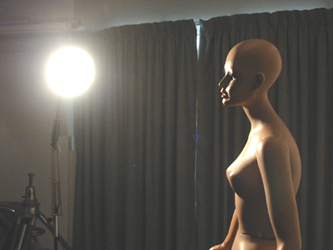
In
the next sequence we will have a look at some
lighting options with one single desk lamp.
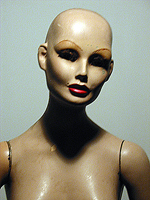
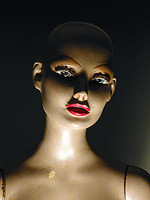
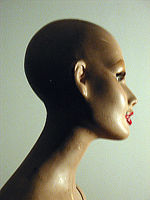
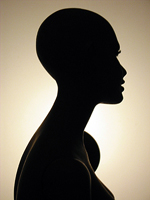
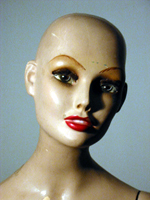
Find
a manikin or a doll and
try and set the lighting as well as you can to match that in
each of the images below. Shot it with a digital camera.
A |
B |
C |
D |
E |
F |
G |
H |
I |
J |
K |
L |
M |
|
Once you have shot the images, upload them onto your computer and leave it a week. Then using your images as a guide, try o copy the light in each one as precisely as you can.